
Coat routines · Printable log
A grooming-tool cleaning log
Keep each tool identifiable
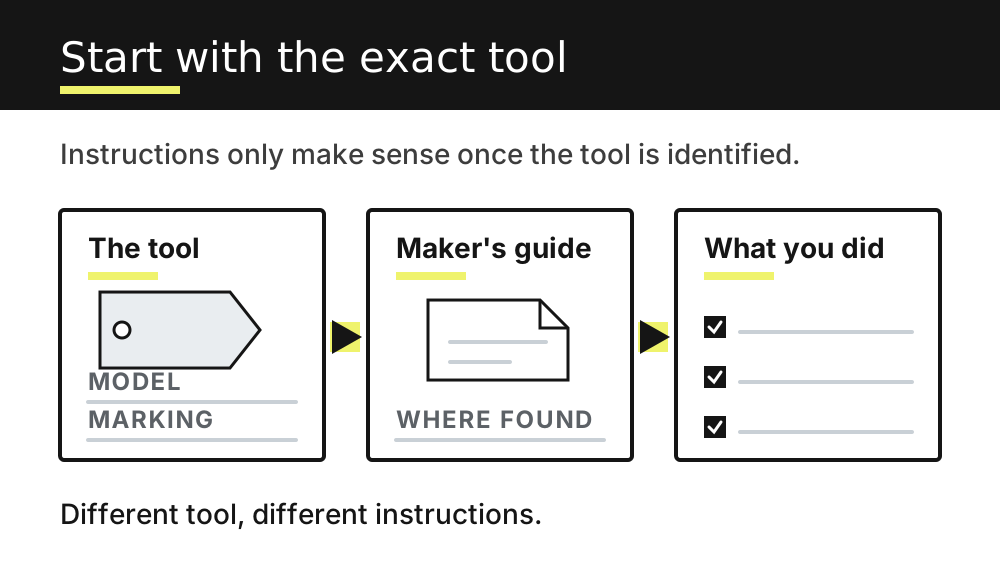
A cleaning log only works if you can tell, at a glance, which tool each entry refers to. List every item by name and a short identifying detail, especially if you own more than one of the same type: “Clipper, model and blade identifier” reads differently than “Clipper” on its own.
Group entries by category to keep the page scannable:
- Clippers and trimmers (note blade size or attachment used)
- Scissors and shears (note length or curve if you own several)
- Combs and slicker brushes
- Nail grinders or clippers
- Any shared or multi-pet tools
If a tool travels between users, such as a shared brush in a multi-pet household, mark that on the log itself. A simple column for “assigned to” or “used on” shows who used the tool.
Consider giving each tool a short code or abbreviation once, then reusing it consistently across every log page. This cuts down on rewriting long descriptions and keeps rows tidy.
Record completion, not intention
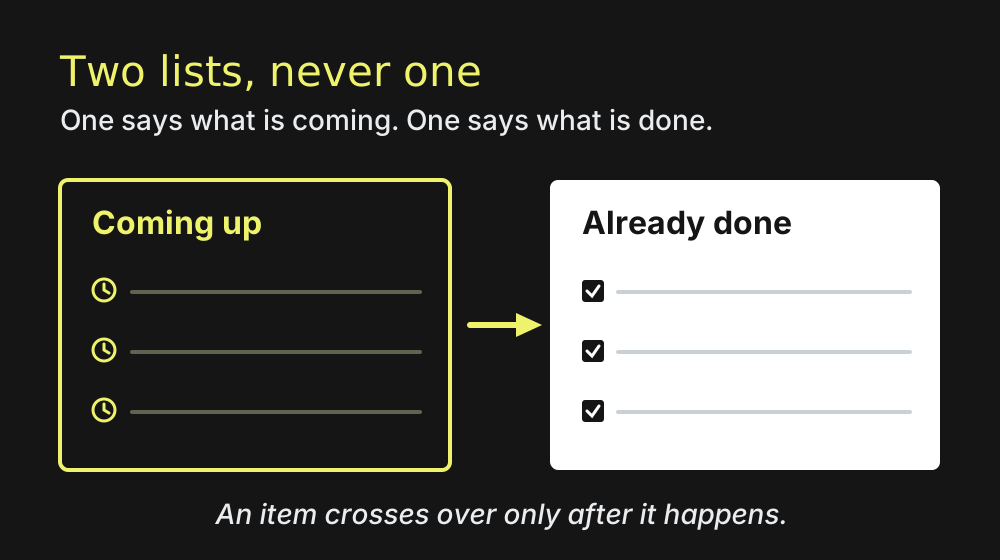
A log entry should mark what was actually done, not what you planned to do. Write the date and action after the cleaning happens, never ahead of it.
A box checked in advance tells you nothing useful three weeks later when you’re trying to remember whether the planned care step was actually completed.
Keep the entry format simple:
- Date completed
- Tool identifier
- Action completed according to that tool’s maker instructions
- Initials, if more than one person handles grooming tools in the household
Avoid columns for “next cleaning due” mixed into the same row as completed work. Separating planned maintenance from completed maintenance keeps the log honest and easy to audit.
If you want a reminder system, keep it on a separate calendar or checklist rather than blending it into the historical record.
Check the exact manufacturer instructions for each tool. The log records what happened; it does not set a cleaning method, frequency or disinfection claim.
Keep the log practical
A grooming-tool cleaning log earns its place on the wall or in a drawer by staying simple enough to fill in without friction. Leave out fields you do not need.
Start with a single page of rows for date, tool, action and initials; add a field only if you use it. Print it in a format that survives a bathroom or grooming station: a laminated sheet or one stored in a plastic sleeve holds up better than loose paper.
Keep the log physically near the tools themselves. Choose a place the people using it can find.