
Coat routines · Layout guide
A small bathroom grooming setup
Define the permitted task
Start by naming exactly what you intend to do in the space, so the layout follows a defined job. A brushing session, a nail trim, a bath, or a full coat clip each call for different amounts of floor space and different tolerances for mess.
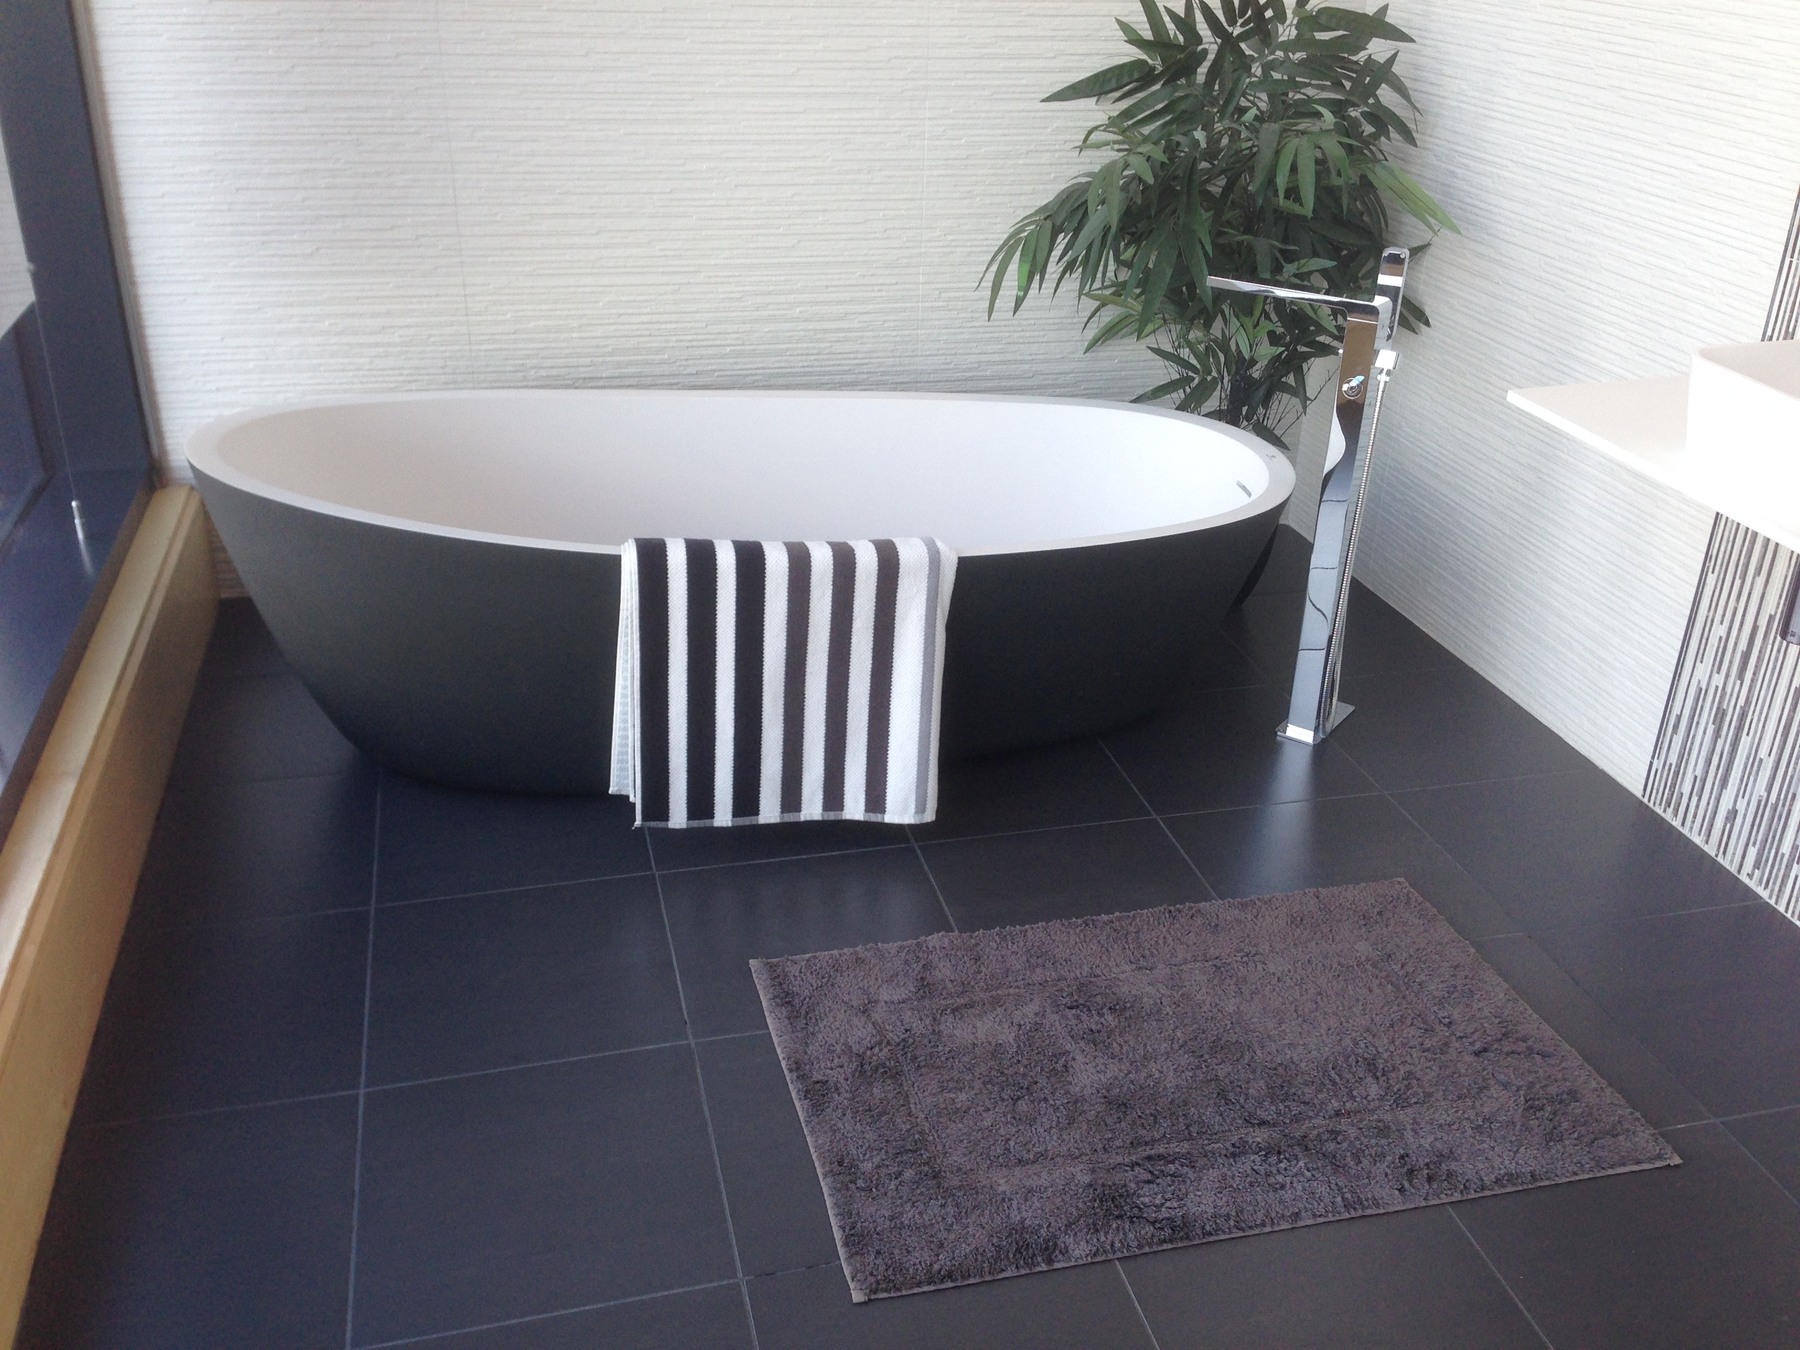
Set out the equipment for the chosen task first.
Write the task down as a single sentence: “bath and rinse only,” or “brush-out and nail trim,” for example. This keeps the layout decisions that follow grounded in a real, limited job instead of an open-ended list of grooming goals.
Once the task is defined, list the few items it actually requires. A nail trim task might need a clipper, a towel, and treats within reach. A bath task might need shampoo, a cup or sprayer, and towels staged nearby.
Keep the list short.
A few examples of scoped tasks:
- Bath and towel-dry only
- Brush-out and light detangling
- Nail trim and ear check
- Post-bath blow-dry in a fixed spot
Resist the urge to prep for every possible grooming activity at once. A small bathroom has limited counter and floor space, so a setup built around one clear task fits better than one built around a general idea of “grooming.”
If your dog’s needs change session to session, treat each session as its own defined task and adjust the layout accordingly rather than keeping a permanent all-purpose station. This narrow framing also makes cleanup simpler, since you’ll know in advance what surfaces and tools were actually in use.
Clear the working route
Before anything else gets set up, walk the path your dog will actually take from the entry point to the tub or mat. In a small bathroom, that route is often shorter than expected, but it’s also more easily blocked by a half-open door, a trash can, or a stray bath mat.
Check for anything that could shift underfoot or cause a slip once the floor gets wet. Bath mats with worn backing, loose rugs, or scale sitting near the tub edge are common obstacles in a compact space. Moving these out of the direct path, even temporarily, keeps the route predictable for both you and your dog.
Items worth checking along the route:
- Loose bath mats or rugs
- Trash cans or hampers near the doorway
- Cabinet doors left ajar
- Cords from styling tools or clippers
- Standing water near the tub or sink
Clearing the route is a setup step, not a safety guarantee. It simply reduces avoidable obstacles before the task starts.
Think about the door swing, too. In a small bathroom, an inward-opening door takes space you need to allow for. If the layout allows it, propping the door open (or closing it fully, depending on the room) keeps the working area consistent from the start of the task to the end.
Once the path is clear, keep it that way for the duration of the session. Setting a towel, leash, or grooming tool down mid-route defeats the purpose of clearing it in the first place.
Keep the route clear during transitions, when your dog moves from wet to dry areas, so this is the moment worth protecting. If another person or pet shares the bathroom during the session, agree on where they’ll stand before starting, rather than figuring it out once the space is already in use.

Plan the pack-away
Before bringing your dog in, decide where used towels and cleaned equipment will go afterward. Choose a dry storage spot for tools, following their care instructions, and keep the route to the door separate from anything waiting for laundry. If someone else will finish the cleanup, name the items they are taking over.
Write a short room reset note: which surfaces need attention, where the towels belong, and which supplies need returning to storage. Walk through that sequence while the room is empty. Adjust any step that would require reaching across your dog or carrying supplies through the working area.